
What You Need to Know Before Sending Your Photos Off to Be Digitized
Rachel Arbuckle | 1st February, 2020 | 3 Mins Read
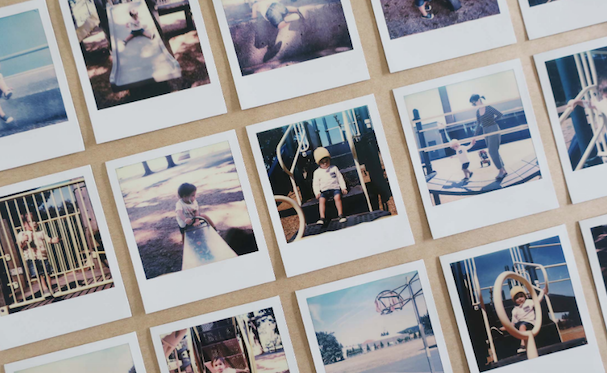
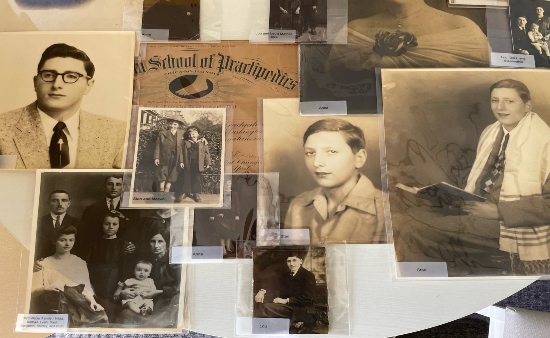
We know that all nostalgics out there love their collection of printed photos.
And while it's true that going through all of the memories you've collected over the years in their physical form may be quite satisfying and joyful, print pictures also have some disadvantages, especially in our modern age.
Preserving your picture collection is a difficult task when it comes to print, as the photographic paper is very sensitive.
Over time, colors tend to fade, and small accidents like water or coffee spills can even completely ruin them. Not to mention that in case of an unfortunate disaster, you might lose all your precious immortalized moments. That's why digitizing your old photos is a great idea and with the help of professional service, you can get them in perfect condition!
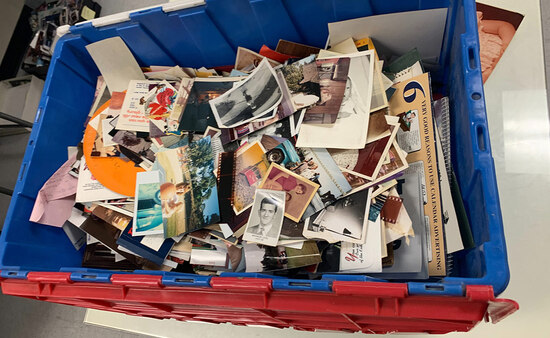
If you choose to go about it DIY style, take into account that you will need a good scanner, patience, and loads of time, as this process can get quite meticulous. But if you have a big collection, we recommend leaving it to the professionals, who can also retouch your pictures once they are digitized. So what's the actual process your pictures go through?
Digitizing your whole photo collection is not an easy task to take on. It's time-consuming and might even cost you more than hiring a professional service to help you out with it.
Working with us means not only having your pictures digitized and then dropped right back at your door but building a system tailored to your goals and needs that will keep your photo collection organized, easy to reach and share, and most of all, preserve your memories so that they can be passed on for generations to come. We're only a phone call away and ready to restore your pictures and bring them into modern-day technology!

"We provide a variety of services to help you achieve your vision for your important collection of photographic memories."
"We specialize in preserving cherished photo and video memories. My team and I passionately organize, digitize, and safeguard these invaluable treasures.
We gather cattered items from clients' homes, merging the physical and digital realms to ensure easy accessibility for future generations."
 Find out more about our team!