I'll Get to It Someday...But What If?

Rachel Arbuckle | 23rd November, 2022 | 5 Mins Read
Technology has made it easier than ever to share our memories. Photos are shared online through social media and blogs. With smartphones everywhere, we can snap a quick pic and text it in minutes. But sometimes we want something more. Something tangible, something giftable - enter photo books!
If you've ever received one, you know how enjoyable they are. Each flip of a page holds a mini surprise. Where will we go next? Who will be smiling back at us?
Photo books are beautiful compilations that bring joy and connection. Our photo organizing clients often find themselves unable to resist creating albums. Once their photos are all unearthed and cataloged, families start reminiscing and wanting to share.
Luckily, the steps for creating these great gifts are very straightforward. We do have a few tips, though, to ensure your final result is one you are proud of!
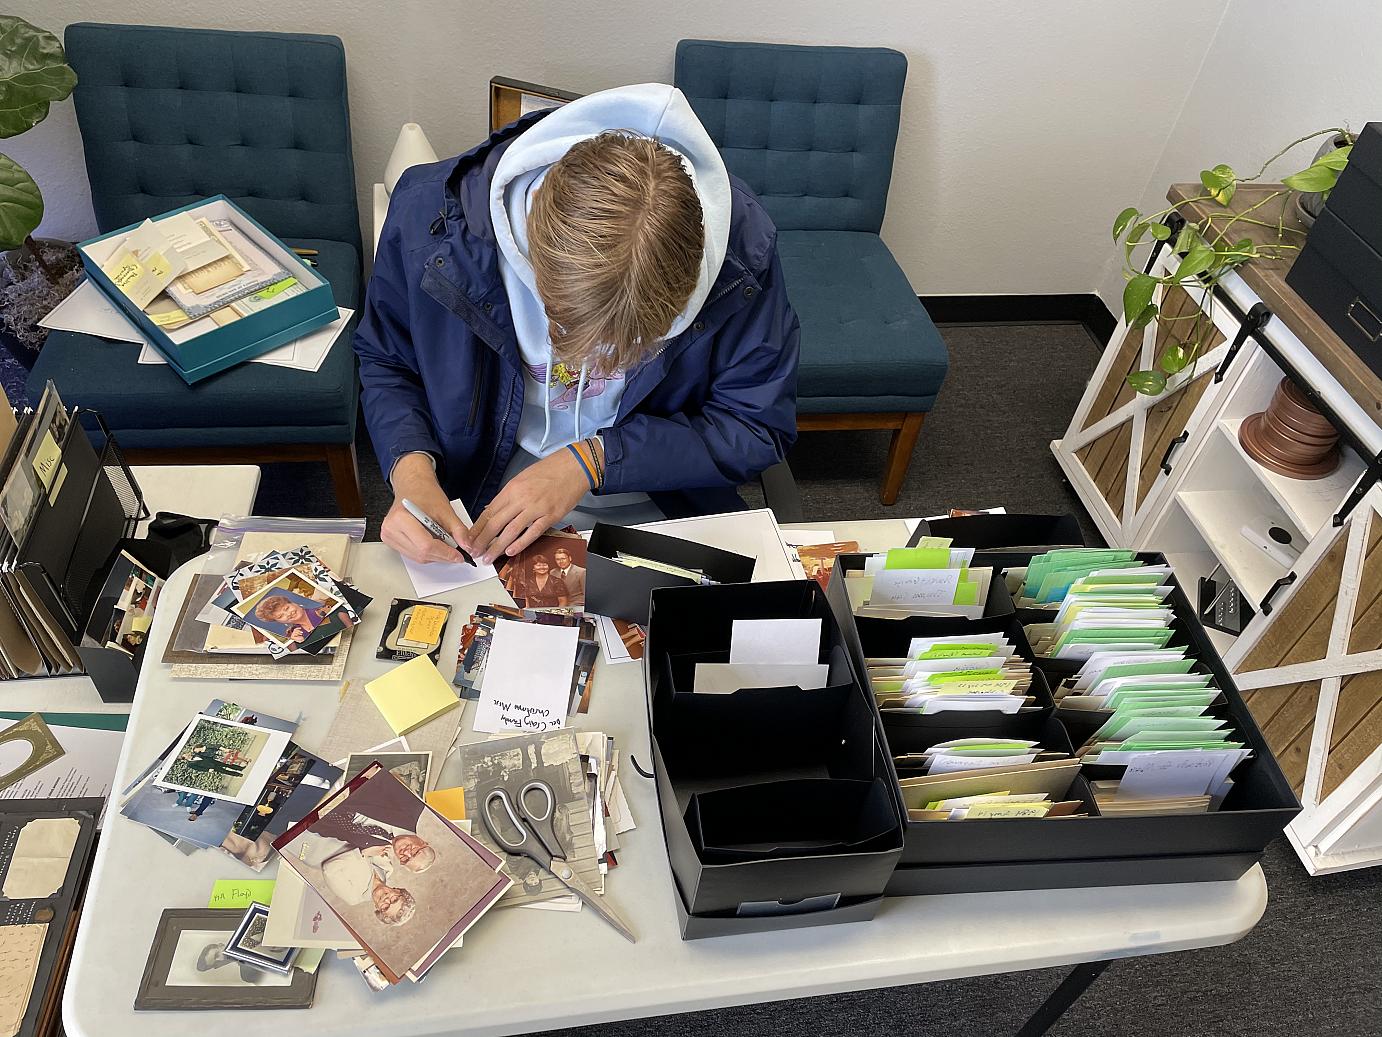
Creating a photo book can be a fun and easy activity- if you're organized first!
Photo organizing can end up being the most time consuming, and overwhelming, step of this process. Learn more about how our team can help you tackle this step!
The top reasons photo books never get made? It's hard to find your photos. It's even harder and choosing the best images to include. But since you've completed the organizing step, you're off to a great start.
Keep in mind the bigger reason you're creating this book. Who is it for and what do you want them to get out of it? Knowing your audience and your purpose will guide you to the most impactful photos.
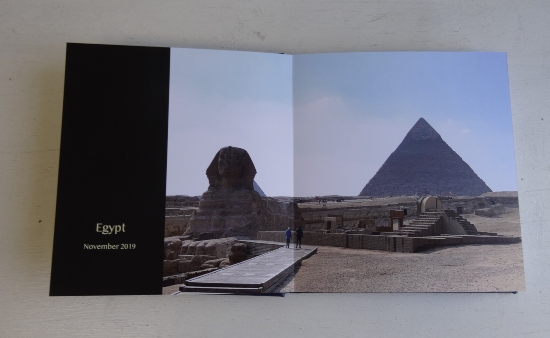
Your theme will determine the order of your photos: chronological or by groups. For example, if this is an Anniversary book, a timeline grouping makes the most sense. Your photos will follow a chronological order, showing how their life together unfolded.
Another theme to consider is a compilation of family memorabilia. Create groups by type, for example:
A mother's day photo book organized by each child and grandchild is special, too. Photo books that showcase holidays or seasons could be organized by those specific events. Don't feel constrained, though. Use your creativity to make the story you're sharing come to life. Inspiration is your guide as you go through the process of selecting your images.
Now it's time to select your photos!
This is where your organization will make the process so easy. Use the keywords in filenames, dates, or facial recognition to conduct your search for images.
Gather a variety of photos: close-ups, group shots, landscapes, and portraits. As you design the pages, you'll make decisions about which ones work best so don't worry about that yet. Pull different types of pictures so you have choices as you build your photo book.
Now, get creative! Remember, this is a book, but it's not the length of a novel. You only have 100 pages to tell your story. Consider each page a chapter that is moving the story along. This will help you choose only the photos that will add to your narrative, rather than a bunch of random ones.
You want your photos to shine, right? Be selective. Photo book publishers often give you templates to work with. Drop your images into the placeholders and edit them to your liking.
If you do not have a template, work in this order:
1. Place photos on pages
A spread is two pages that face each other. If you're using a spread, consider using one landscape picture across both pages. This can be very striking and emphasizes that particular moment.
To include several photos on a page, use a collage design. Because these can look very busy, we recommend using them sparingly. Most pages will have between 1-5 photos, depending on the size of the book.
Tips for placement:
Leading Image - this will serve as an introduction to your photo book. Select one that establishes and embodies the qualities of your theme.
Focal Point - this image is the anchor for the page. It's usually the best of the bunch; the star of the story while the other images are supporting actors.
2. Design page layouts
Arrange photos, keeping an eye on balance, color, and size. Does the page look overwhelming or pleasing? Can you see the details that matter?
Mix it up! Using the same layout page after page gets dull. Keep it interesting by varying the number, sizes, and placement of your photos.
3. Add text and background
Use a light touch when designing the page elements. Complementary background colors are elegant and calming. Contrasting colors can create drama and make photos pop.
Consider your theme and the feelings you want your audience to feel. Use text sparingly to provide some context such as dates, locations, and events.
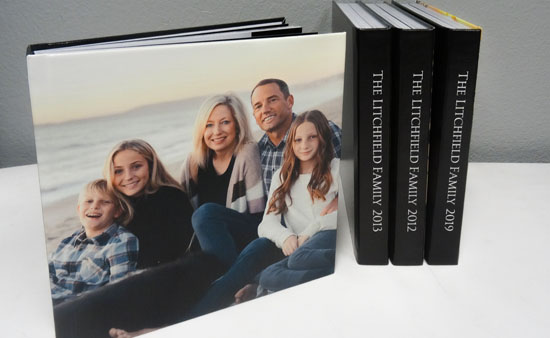
Now that your photo book design is complete, you can print many copies and share them with your loved ones. Getting your photos organized is the most daunting. But once it's done you'll be set up for success! Your photos are organized, digitized, and labeled. Future projects will be easy- make these special gifts again and again.
Our professional photo management service includes photo book design. Photo books make great gifts and we've already fired up the presses for a busy season. Whether it's from organizing start to printing finish, or a la carte for any of these steps, we've got you covered!

"We provide a variety of services to help you achieve your vision for your important collection of photographic memories."
"We specialize in preserving cherished photo and video memories. My team and I passionately organize, digitize, and safeguard these invaluable treasures.
We gather cattered items from clients' homes, merging the physical and digital realms to ensure easy accessibility for future generations."
 Find out more about our team!