Picture Perfect Legacy: Finding Peace through Photo Preservation and Estate Planning

Rachel Arbuckle | 21st December, 2022 | 3 Mins Read
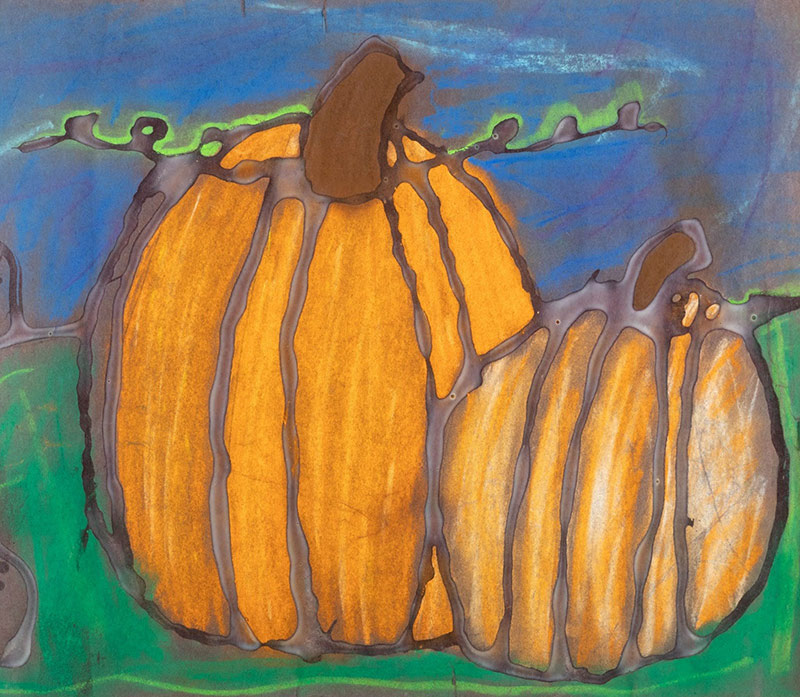
Have you ever wished you could bottle up time and keep the magic of childhood forever? Parents make many memories through activities with their kids, especially art at home on rainy days.
And, of course, they are creating more memories at school and camp- sharing them with us at Open House tours and when they leave their overstuffed backpacks for us to clean out on Saturday mornings.
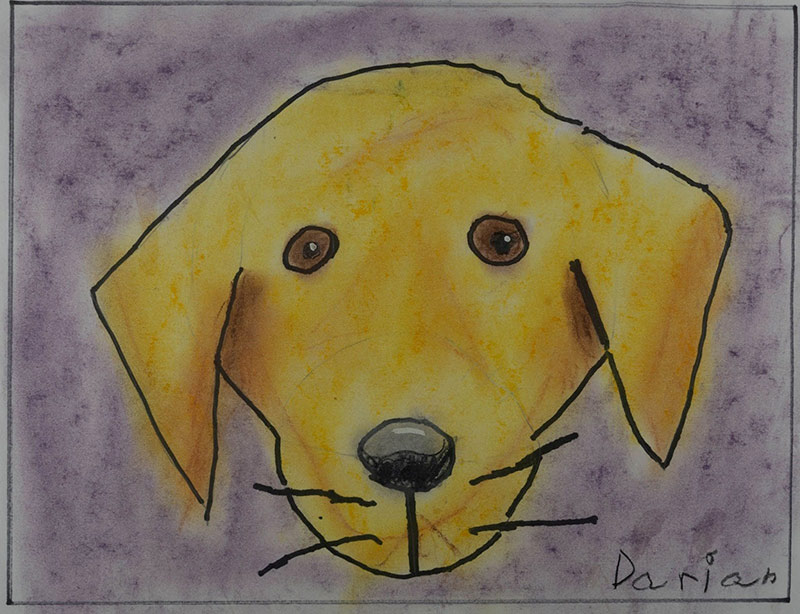
Our days with our kids are full of finger paints, construction paper, macaroni, and bottles of glue. Then there are the lopsided playdough and pottery creations, dioramas, science projects, and poster board presentations. Each piece reflects a moment frozen in time; stories we want to hold onto forever. So we hang them on the fridge, display them on walls, and tuck them away in folders and boxes. For years. For each child.
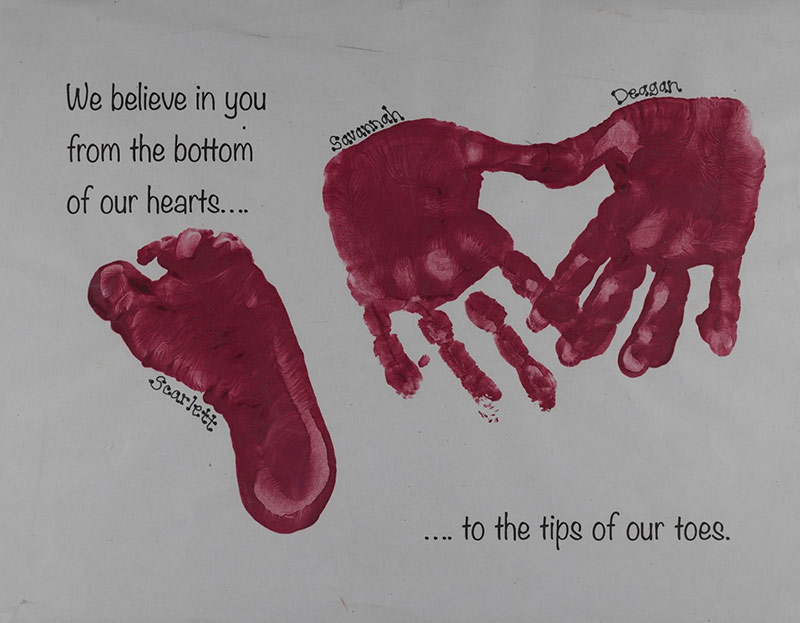
Over time, we end up with quite a collection that takes up precious storage space in our homes. And it's hard to keep all that childhood memorabilia organized. Remember all those little handprint turkeys, drawings with crooked signatures, and sock puppets decorated with yarn and buttons? We hate to throw them out because it feels like sacrilege. We want to hold on to what we have left of those special years of raising our kids. It's called memorabilia for a reason!
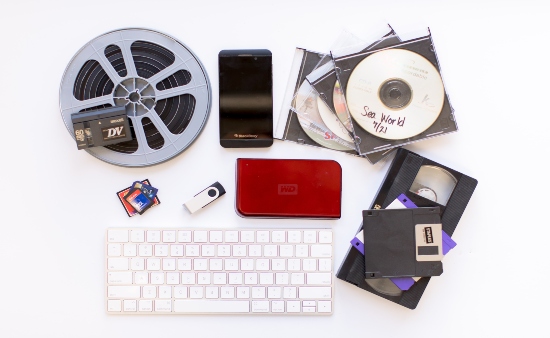
Once scanned, the only space those 3D pieces take is digital. Organizing the files will be simple so you can find the artwork later. You can still look back at them and smile while feeling free of the sense you should "do" something with them.
Your child's memorabilia is special- naturally, you want to keep it. Digitization protects from water, fire, and other damage.
Another bonus of scanning these pieces? You have versatility. That artwork, no longer trapped in a box under the bed, collecting dust, can be shared in photo books. It's easy to drop a few scanned photos into an album or calendar to show Grandma all that your budding Picasso is creating.

Here are a few tips to get started digitizing your child's memorabilia and creating more space in your home:
Remember, as always, our professional photo managers are here to help! We have all the equipment to save you time and energy as you figure out what to do with your child's artwork and memorabilia.

"We provide a variety of services to help you achieve your vision for your important collection of photographic memories."
"We specialize in preserving cherished photo and video memories. My team and I passionately organize, digitize, and safeguard these invaluable treasures.
We gather cattered items from clients' homes, merging the physical and digital realms to ensure easy accessibility for future generations."
 Find out more about our team!